Sunburn Care 101

sunburnSummer time is finally here.  It’s time for lazy beach days, late night campfires, and family vacations.  But amongst all the fun comes the downside of summer as well—harsh sun that can irritate skin and leave areas forgotten by sunscreen scorched and painful.   Sunburn is one of the worst parts of summer and not only is it painful, but it can also leave you feeling self conscious and afraid to wear certain clothing items.  Not to mention the every lingering fear of dry flaking skin and blisters.

But there are plenty of things you can do to quickly eliminate sunburn heat and redness.   Sure you can slap some Aloe Vera lotion for soothing on the spot, but is that the only thing you can do?  Definitely not.  There are actually a lot of different things you can do to reduce redness and burn from the sun.  Today I want to share with you my method to quickly eliminate sunburn.


Moisturize

Moisturizing is probably the most important step to controlling sunburn.   Since over exposure to the sun dries the skin due to the destruction of lipids (which form the outermost layer of your skin) the best thing to do to keep the skin underneath healthy and moisturized.

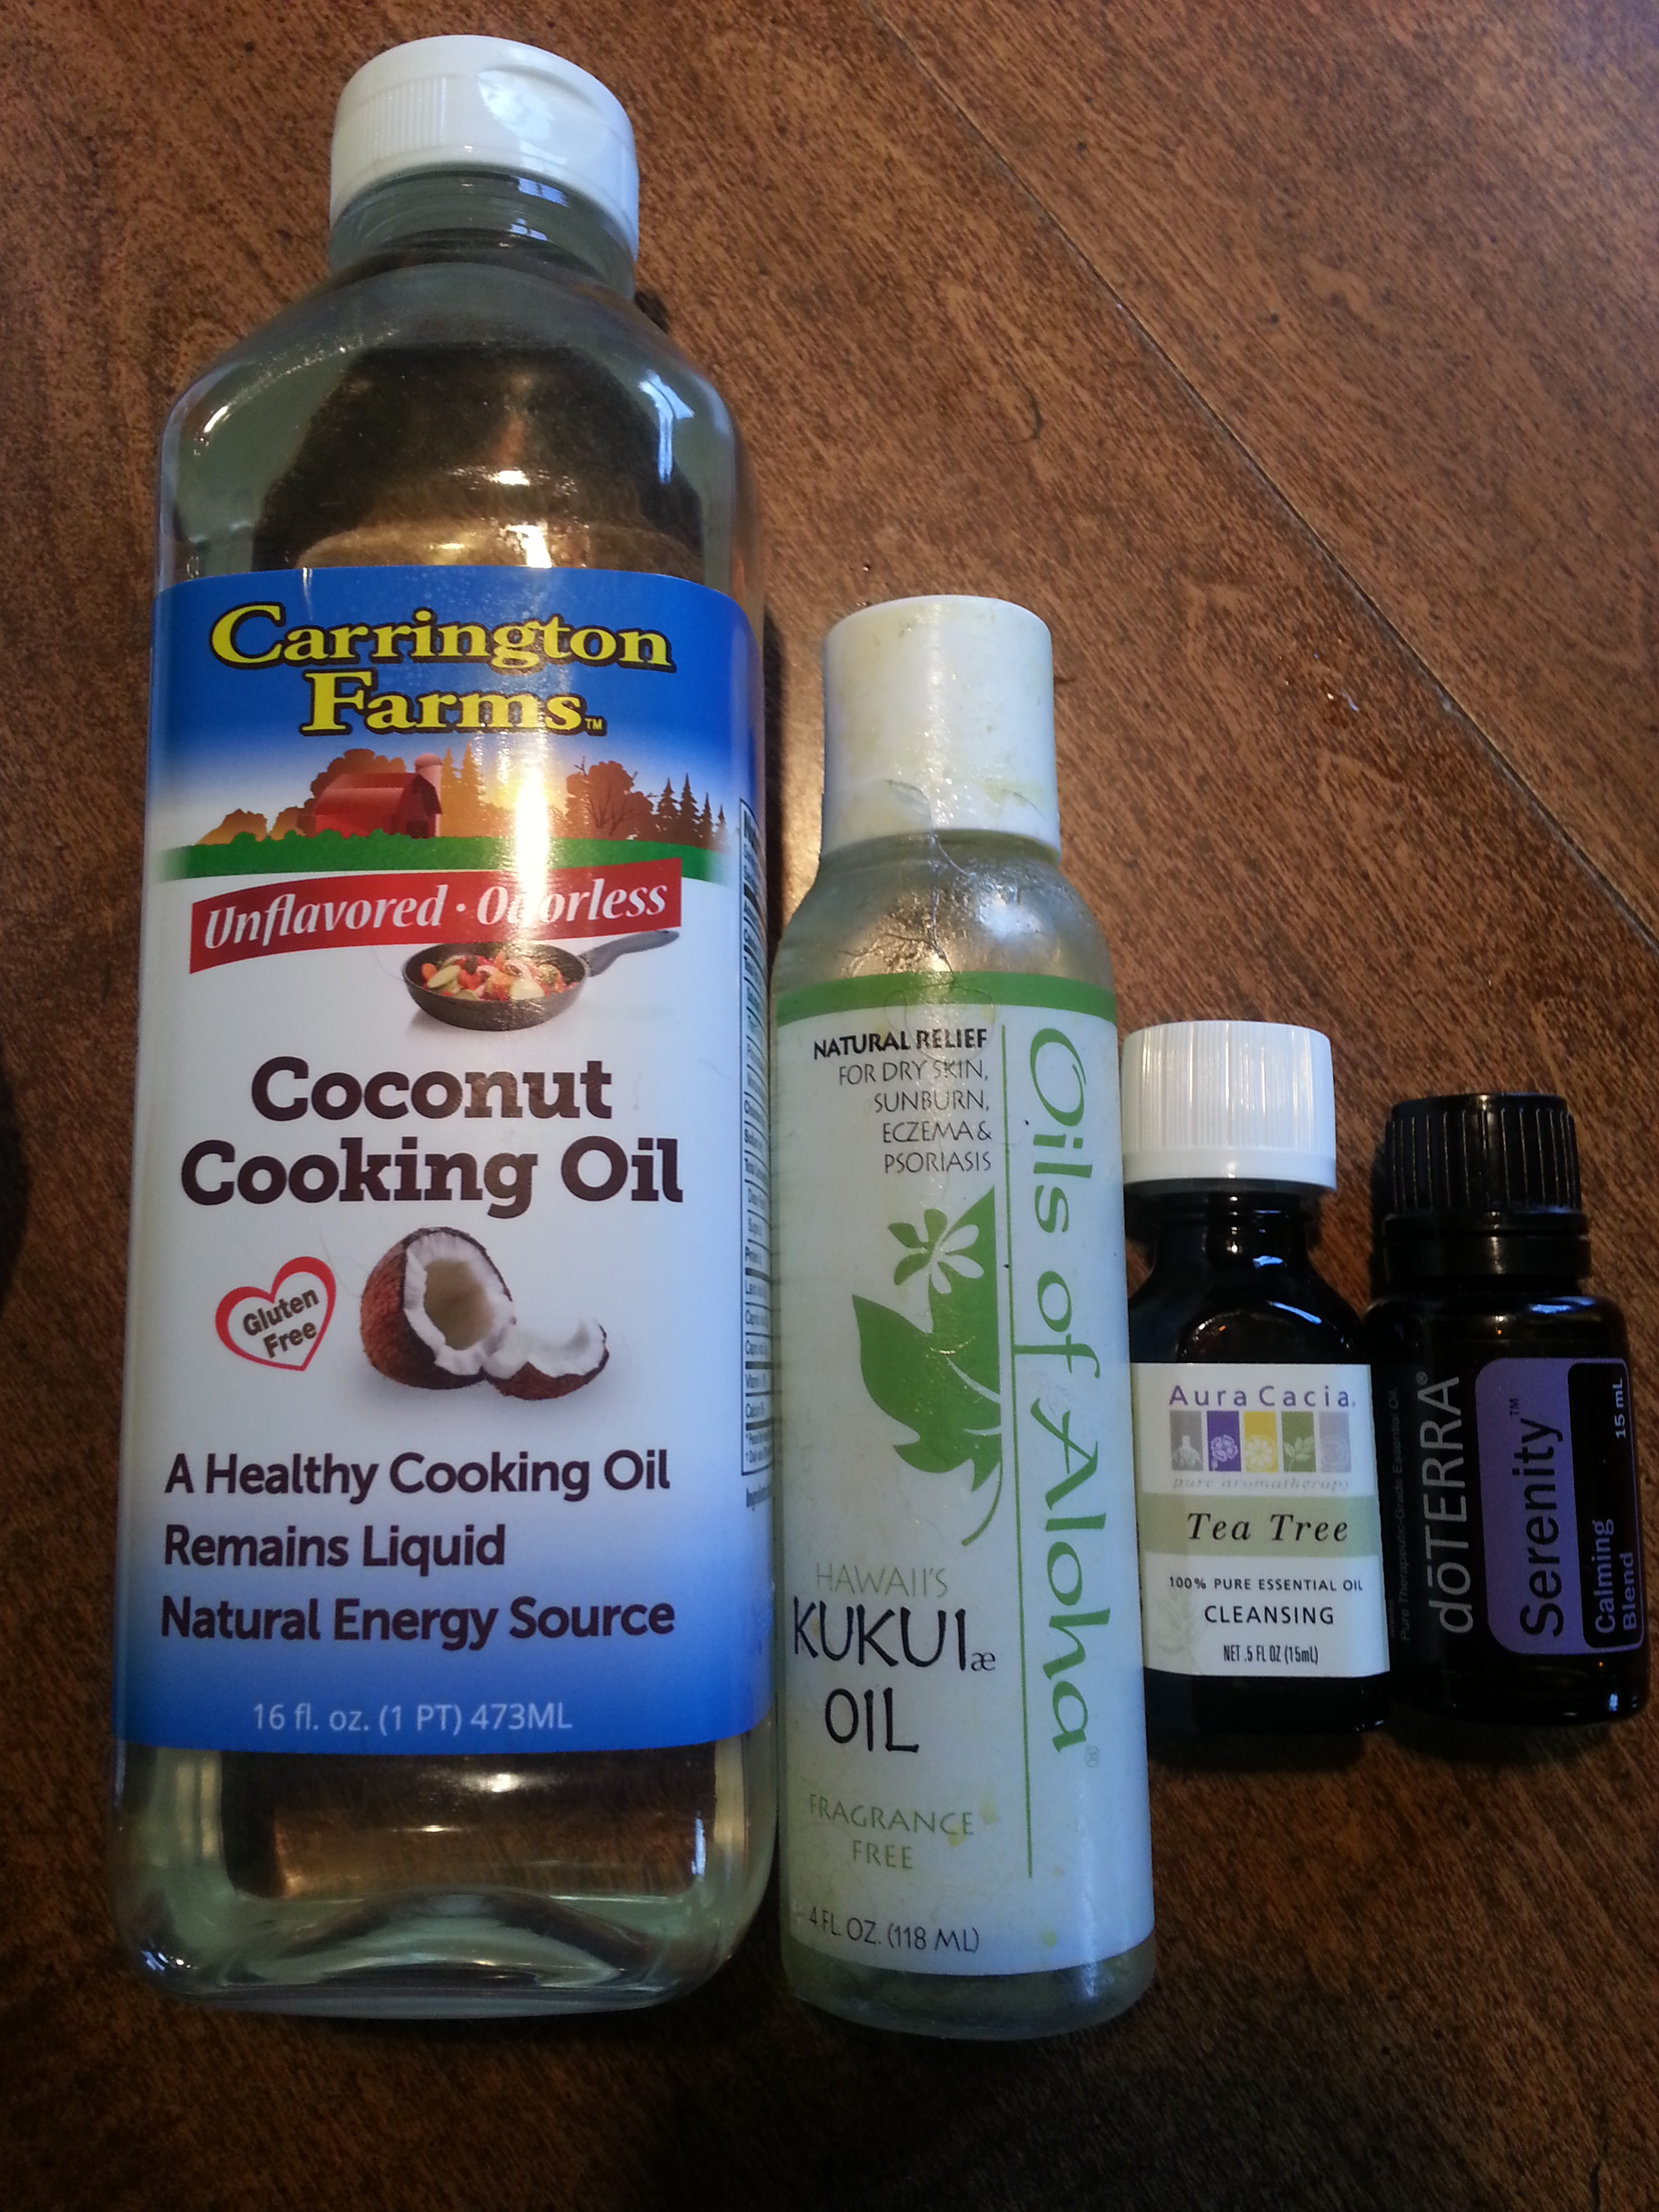
Applying an oil such as avocado, almond, coconut, or even kukui nut oil helps to keep skin moisturized and promotes healing of the area.  Kukui nut oil is specifically labeled to help skin that has been damaged by the sun, and it is definitely my favorite thing to use.

Shea butter also has great healing properties and is a super moisturizer.  It’s very effective when it comes to soothing pain from sunburn and it also helps to heal the area and promote healthy skin filling in where the dead skin once was.

shea butter

Shea Butter has many healing properties and can be great sunburn relief. Photo: lifecellproducts.com

Aloe Vera also works well to soothe skin, and in a lotion form it is able to also help keep skin moisturized.

When I am facing a nasty sunburn, I like to first use a generous amount of oil on the area (I use kukui nut oil) and work it into the affected area for 2 to 3 minutes.  I then use a significant amount (if you think it’s too much, it probably isn’t enough) of Shea butter and work that into the skin.  I like to keep my Shea butter somewhere cold so that way it provides an extra bit of relief when I use it.  I do this two times a day, sometimes three if the burn is more red and painful.


Medicate

Sunburn causes inflammation of the skin, so it is a good idea to take a medication that will help with the inflammation and the pain such as ibuprofen or Advil.  This will also help with redness and soreness.  Keep in mind that Tylenol will only treat the pain, so it’s not as useful.  A dose of Advil twice a day should help significantly reduce redness and irritation.


Stay hydrated

As important as it is to keep your skin hydrated while you are working on healing, it is also important to keep yourself hydrated.  Sunburn draws water from other parts of your body and leaves a risk of heat stroke and heat exhaustion, so it is very important to stay hydrated while you work to reduce your burn.  It’s also a good idea to be drinking extra water in the summer months to avoid heat exhaustion when you are out and about.


Keep it covered

As much as you might want to wear that tank top by the pool side the day after you get a bad burn, extra exposure to the sun could make your burn a lot worse.  Exposing the same skin to the sun could cause a minor burn to become more severe and could set back any attempts towards healing you’ve already started.  The best thing to do is to keep the area covered until the burn has mostly healed, or to stay out of the sun if you want to have those areas exposed.


Exfoliate

Once the skin stops feeling sensitive to the touch and the redness has gone down significantly, it’s not a bad idea to exfoliate the skin.  Since the burn has left a lot of dead skin, you want to get that out of the way to let the healthy skin underneath come through.  This is an especially good idea if your skin is starting to peel, however even if it’s not, the dead skin is still probably present and exfoliation is needed.

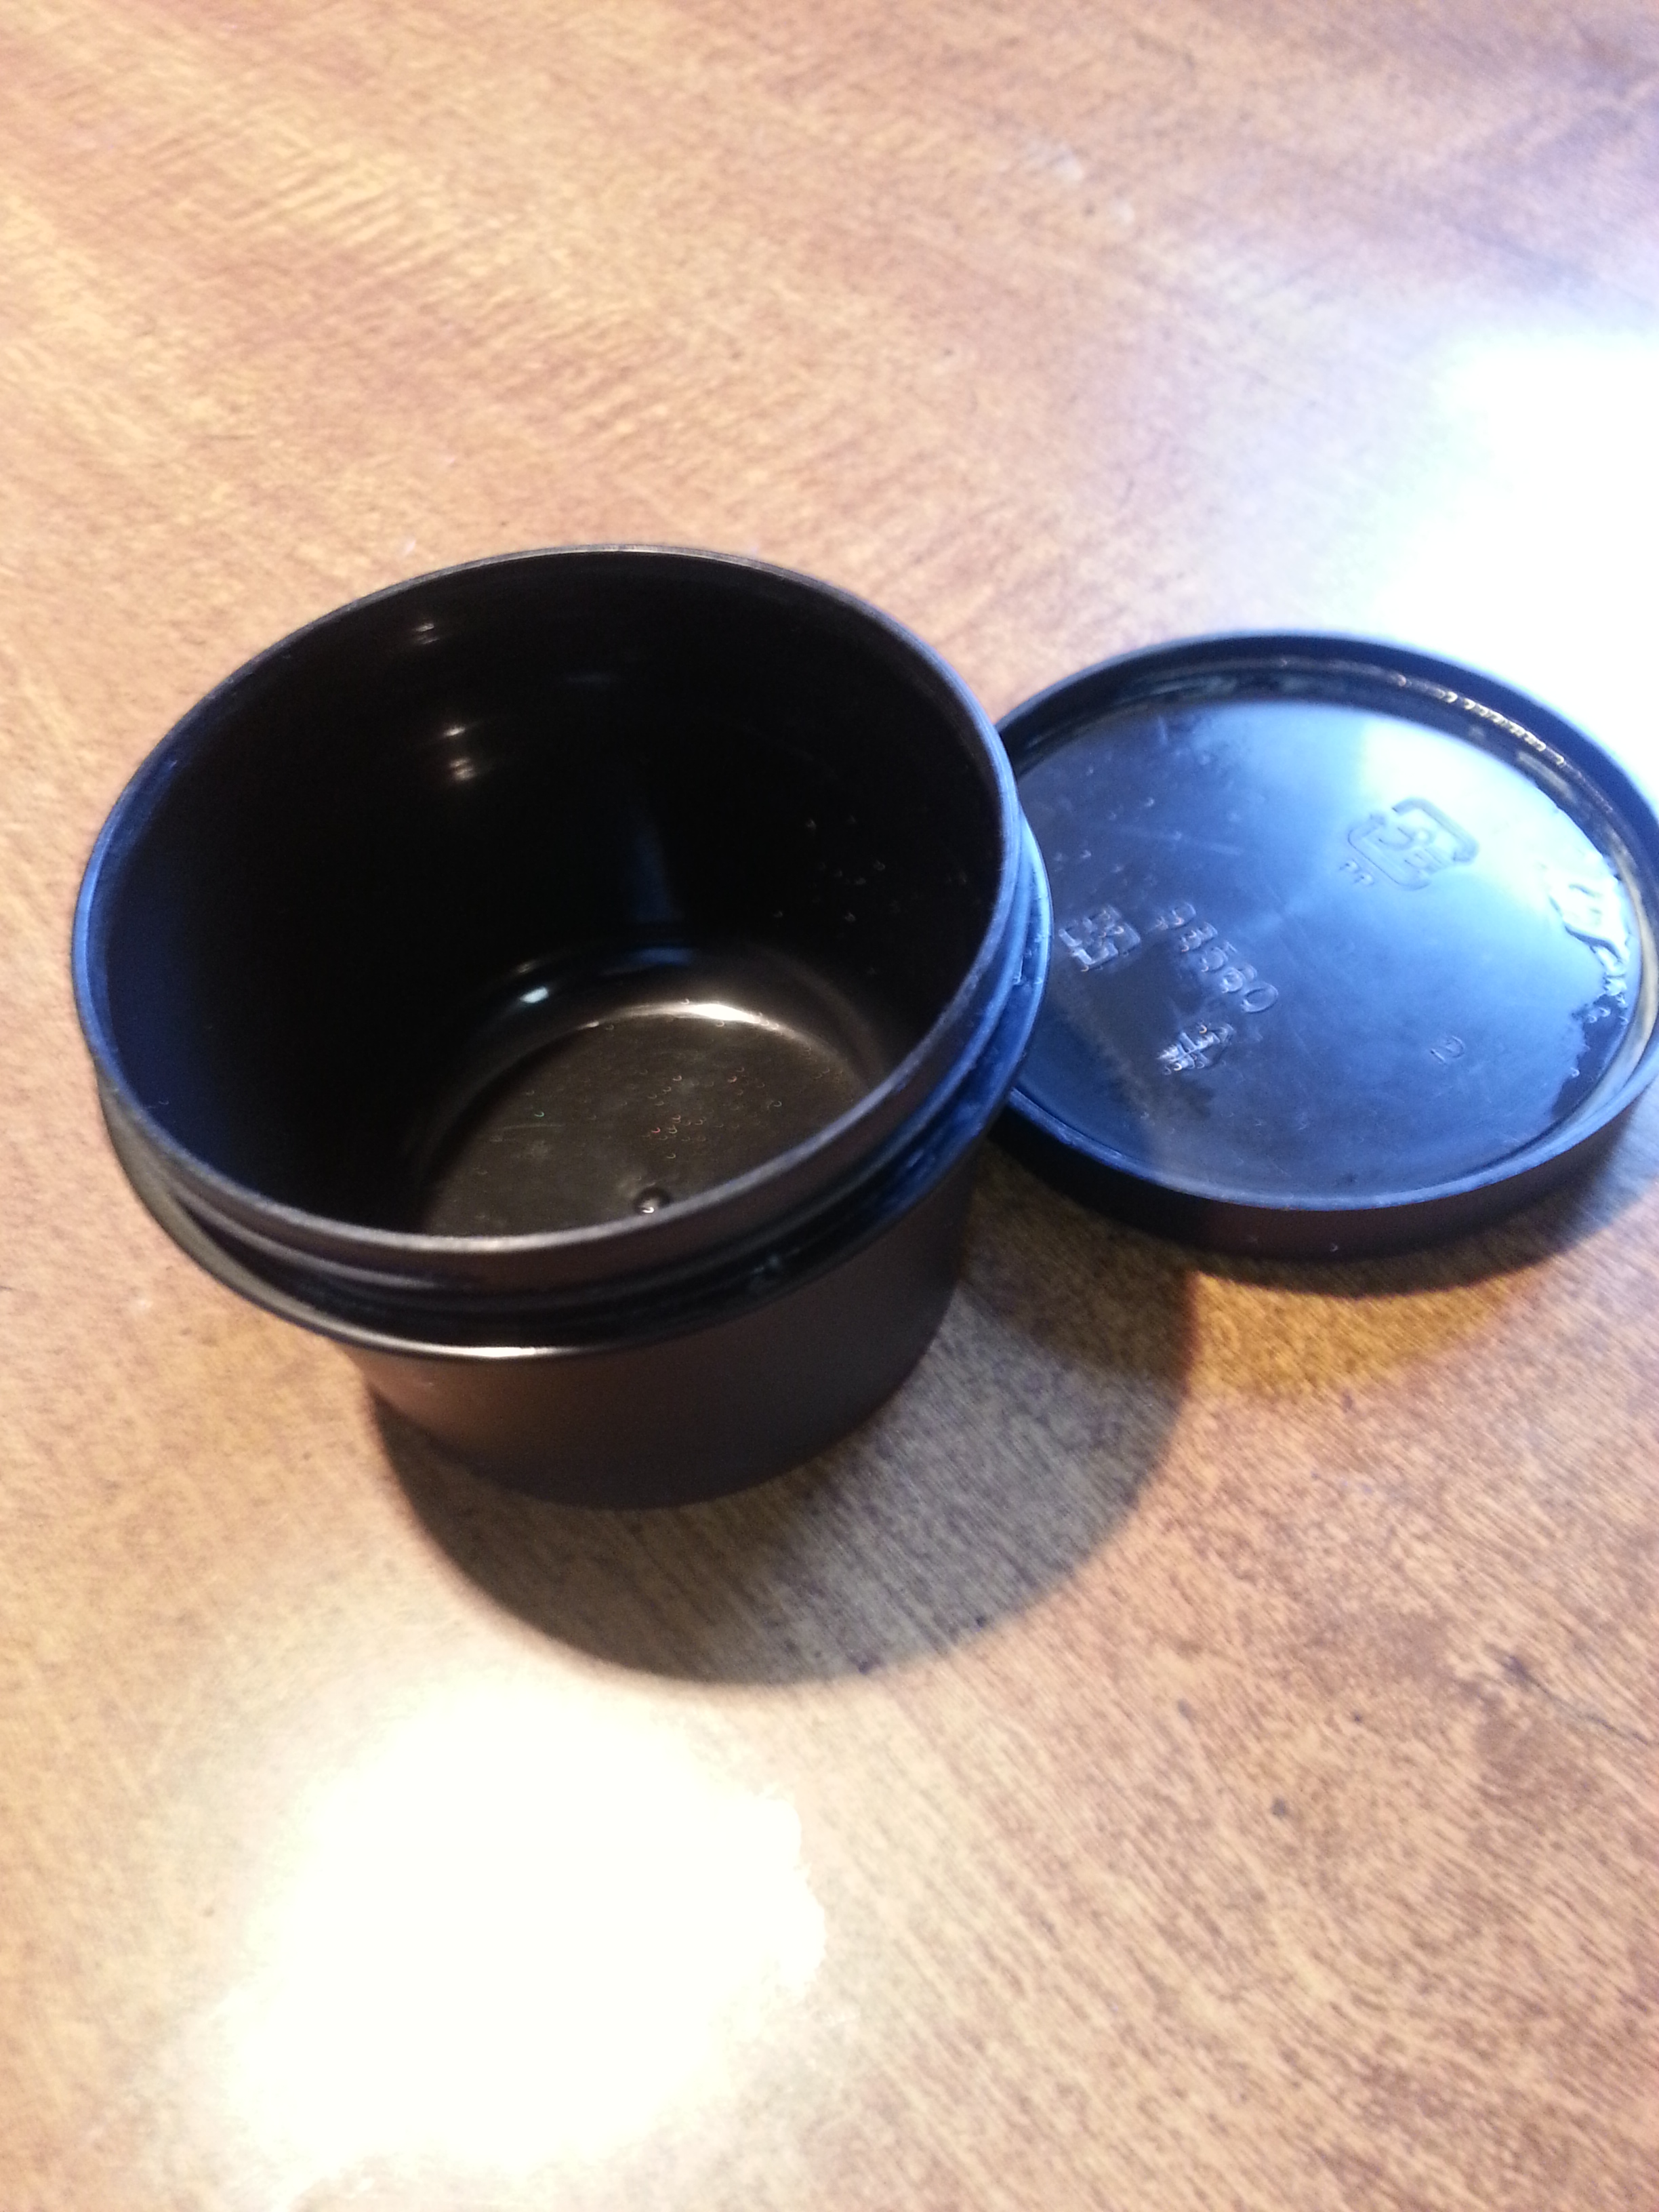
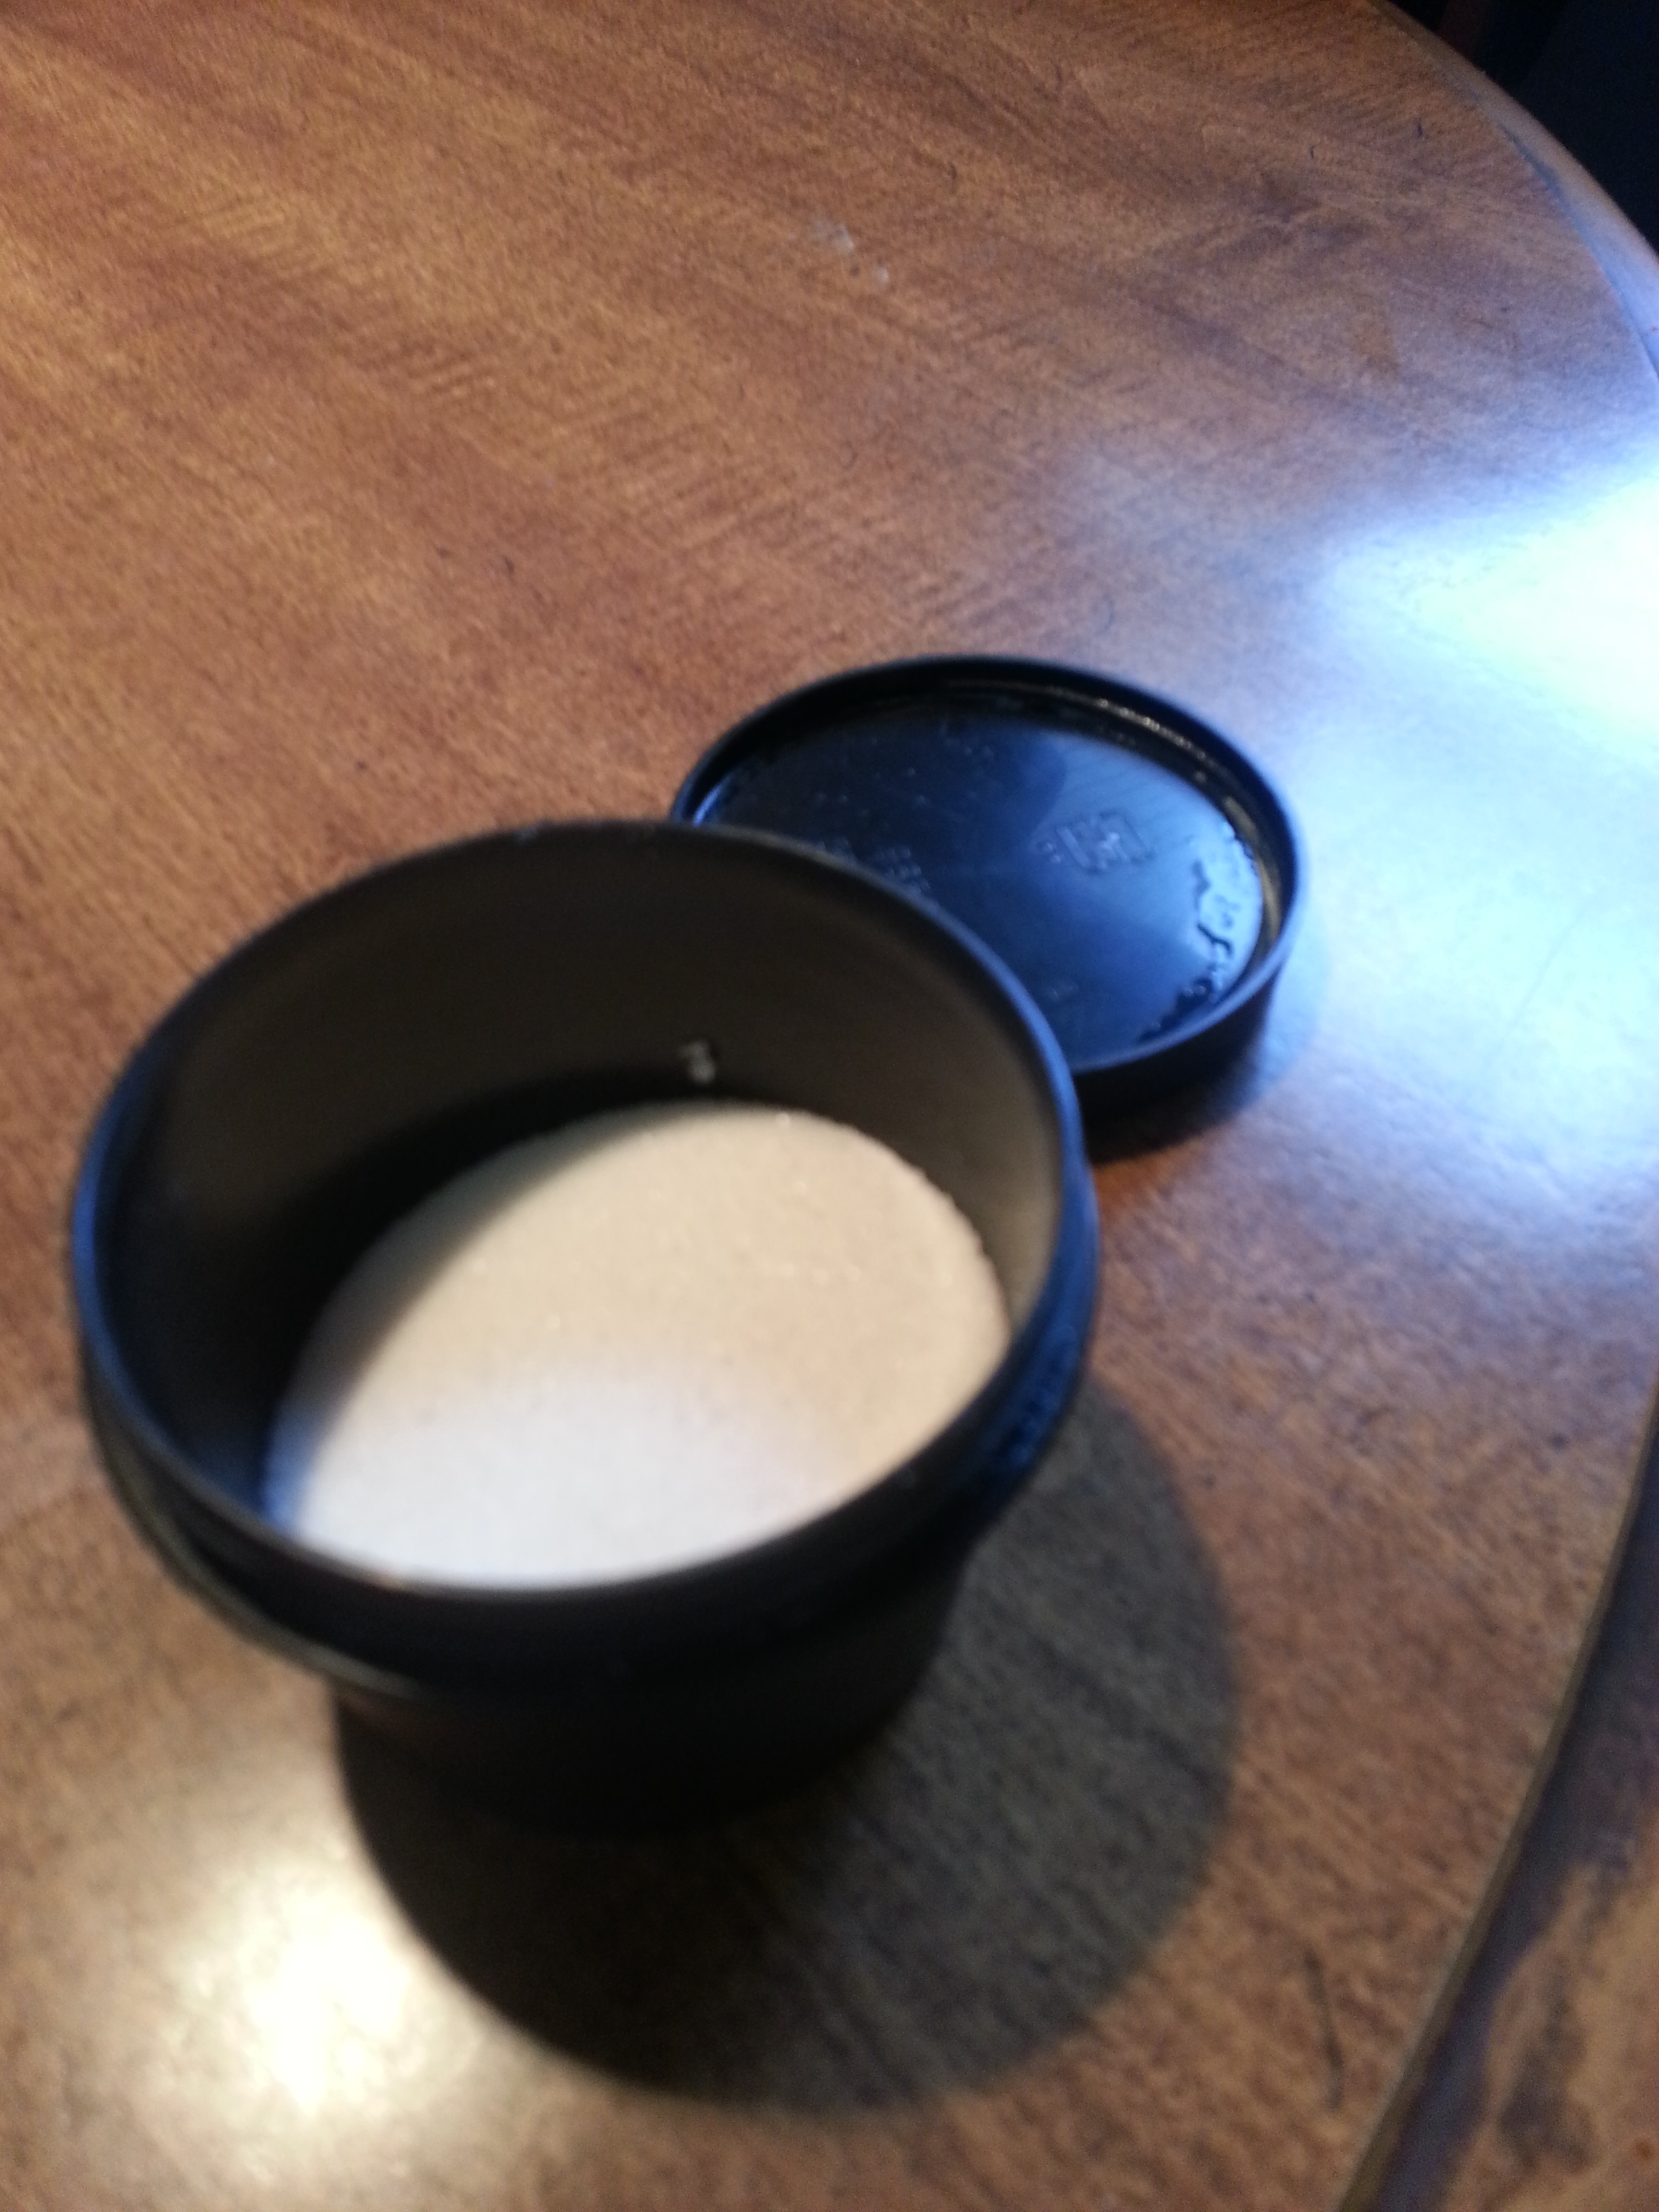
I find a cheap, homemade sugar scrub using coconut, avocado, or almond oil along with kukui nut oil (or lavender oil is said to be extremely healing) highly useful and gentle enough that it removes the dead skin without causing irritation and still leaves the skin moisturized.  A small amount of sugar scrub goes a long way for this, so don’t feel the need to work at your skin until it is irritated and red.  Also, again, make sure you only do this once the skin is no longer red and painful.  You should only have to exfoliate once or twice total to remove all the dead skin and you certainly should not exfoliate more than once a day.


Finally, continue to moisturize the skin a few days after the redness has reduced to ensure that the skin is healthy.  This should reduce your sunburn significantly within just a few days, however all skin varies so some methods that work for me might not work as easily or quickly for you.

What do you do when you have sunburn?  Let me know in the comments below.

Until next time,

Kat


DIY Sugar Scrub

I have talked numerous times on this blog about how much I love using a sugar scrub once a week to exfoliate my skin, keep it smooth, and remove any dead skin cells.  I have recently began running out of my normal sugar scrub, a little gem I picked while I was in Hawaii, and I figured that instead of forking out the cash to buy a new container of it, I should try to make my own scrub and how I liked that.

So today, I want to share with you the sugar scrub that I made in my own kitchen and give you an idea of how you can make your own at home.


What you’ll needwpid-20150421_152818.jpg

  • Pot or jar to put everything in (I used a recycled pot from one of my old Lush products)
  • ¼ cup sugar (Amount may vary depending on the size of your container)
  • Liquid Coconut Oil
  • Kukui Nut Oil
  • Tea Tree oil (or other essential Oil)
  • Fragrant Essential Oil (make sure it is safe for skin)

How to put together

  1. Make sure that your pot or container is clean.  Your pot can vary in size depending on how much scrub you would like to make.
    wpid-20150421_152852.jpg
  2. Place sugar in pot. You can use normal white sugar, cane sugar, or even brown sugar if you prefer.  In my recipe I used normal white baking sugar.
    wpid-20150421_152911.jpg
  3. Soak the sugar with Coconut oil. Make sure to stir it around so all the sugar is soaked.  Add a little extra so there is some to continuously soak the sugar.  (I used a little over ¼ of a cup)
  4. Add about 2-3 tablespoons of Kukui Nut Oil. You can use more or less of this as you please.
  5. Add about 10 drops of Tea Tree Oil or other essential oil
  6. Because I do not like the smell of Tea Tree Oil, I used about 10 drops of a Fragrant Essential Oil (Serenity Blend) to buffer the smell of the Tea Tree Oil. Lavender, found in Serenity Blend, is also great for the skin.
  7. Mix well.
  8. Use on face once a week. Store at room temperature between uses.
    wpid-20150421_153322.jpg

What essential oil to use

I used Tea Tree oil in my blend because it works as an anti fungal and is therefore great for fighting acne and break outs.  The Kukui nut oil is great for keeping skin moisturized, so together they are a great combination.

Other essential oils great for skin include Frankincense, Geranium, Lavender, and Neroli which are beneficial for acne prone, oily skin.  Geranium, Lavender, Myrrh, and Ylang Ylang are great for dry skin as well.   Check out this article for more information on essential oils that are good for skin care.

I found my Tea Tree oil in my local grocery store for around $6.  They also had plenty of other essential oils as well.  Some are more expensive than others, so keep that in mind when thinking of what blend you are going to use on your skin.


Overall Review

As far how much I liked my DIY sugar scrub, I can definitely say that it worked at keeping my skin feeling exfoliated and soft.  I think next time I would use a larger gradient of sugar, maybe a larger cane sugar, just to feel like it was exfoliating more, but overall it felt a lot like my usual sugar scrub.  My face isn’t currently breaking out, so I can’t say too much for if the Tea Tree oil worked for that, but I can say that my face hasn’t broken out in the days since I used the product, so that’s good!

I was afraid that the smell from the Tea Tree oil was going to linger.  Tea Tree has a very spicy, strong scent to it, and I wouldn’t have been surprised if it stayed on my skin for awhile, but it didn’t!  My face didn’t smell like Tea Tree oil at all after use, so that was a bonus.  It does not detour me at all from using Tea Tree oil again in a sugar scrub in the future.

Overall, I do prefer the scrub that I got from Hawaii, it has more natural oils in it than just the few in this and I like the smell a lot more.  But as far as a cheaper, just as effective sugar scrub is concerned, I think this works just as well or is a good alternative for in between buying scrub!

Have you ever made your own sugar scrub or body scrub?  Share your recipe in the comments below.

Until next time,

Kat

My Personal Skin Care Routine

I receive a surprising amount of questions about what I do to take care of my skin on a regular basis.  Why this is surprising is because so many people claim that I have “flawless” skin and that they’ve never noticed any break outs on my face before.  As amazing as having flawless skin would be, this idea, especially for me, is a far shot from the truth.  In fact, as I’ve spoke about before on this blog I have decently dry skin that tends to break out under certain conditions, and it can be a complete pain in the butt to deal with.  Throughout the years, I have learned how to deal with this problem and how to treat my skin to minimize the break outs because let me tell you, getting dry eczema patches that won’t go away is stressful and it does not help with healing at all!

So today, I want to share with you some of the products that I use and some of the tips I have for skin care.  Of course, this is just what I do for my skin care, it works for me, but everyone’s skin is different and your routine should vary depending on your skin type and how your skin reacts to different products.


Foundation

cg

Covergirl Outlast 3 in 1 $6-$9 at your local drug store

Every morning, I wake up and apply my makeup.  I don’t wash my face in the morning (I cleanse my face at night before bed); I just get up and apply my makeup.  The foundation I use is Covergirl Outlast 3 in 1 in the shade of Classic Ivory.  I am really lucky to have found a drug store brand foundation that I love and that matches my skin tone.  Honestly, I luck out in the fact that I have a neutral skin tone so I don’t have to worry about undertones affecting the way foundation blends to my skin.  Some people aren’t that lucky and foundation can make them look orange if it’s not the right foundation for their skin.  I love this foundation because not only does it blend well and last all day, but it’s a 3 in 1 meaning that it is not just foundation it also has a primer and concealer to help with that overall blending and lasting coverage.   This product is also spf 20, which is great for my fair, easily burning skin, but in the summer just as a precaution I usually mix it with some sunscreen before applying for some extra protection.

I apply my foundation using one squirt from the pump and using a Mineral Powder Brush, simply because it is one of my favorite brushes in my brush collection and is a good size for me.

Honestly, I should clean my brushes more often than I do.  I currently clean my brushes once every month despite the fact I should probably be doing it once a week at a minimum.  There is a lot of importance in cleaning your brushes since they can hold all the old makeup, oil, and bacteria for weeks on end until you clean them.  This can cause your skin to break out more.  I won’t go into details on how to clean your brushes, but I’ll link this video from Michelle Phan that has an amazing tutorial for cleaning brushes at home.


Concealer and other make up

For my concealer, I mostly use whatever I got my hands on when shopping at the drug store; however I am very excited to try the Urban Decay Naked Skin Weightless Concealer in the near future.  Not only is Urban Decay a great brand and I trust their makeup for great coverage, lasting ability, and gentleness on skin, but it also comes in a variety of different shades for different skin tones.  This means I am able to get a concealer specific for my neutral skin tone.  I highly suggest that if you have a skin tone that makes finding foundation or concealer hard to find, checking out this product.  They have shades for all colors of skin, light to dark, and for neutral or warm undertones.

naked

Urban Decay Naked Skin Weightless Concealer $28 at Ulta

As far as other makeup goes, I don’t use any specific brands for eye shadow, mascara, or lip stick and it just depends on what I pick up or what’s on sale at Ulta at the time.  Smashbox and Urban Decay are some of my favorite brands, but I also like some drug store brands as well, especially for mascara and eye liner.


Cleanser

At the end of each day, I wash my face using Garnier Clean Refreshing Remover Cleansing Towlettes to wash off my makeup and clean dirt my face.  What I like about this product is that it is not just a makeup removal; it also removes dirt and revitalizes the skin.  It also doesn’t leave my skin dry or oily after using which is always an added bonus.

garnier

Garnier Clean Refreshing Remover Cleansing Towelettes About $5 at your local drug store

I cannot stress how important it is to wash your face at night and to remove your makeup.  Makeup that stays on overnight can clog pores and prevent your skin from breathing.  This, believe it or not, can actually cause inflammation, redness, and premature aging of your skin.  You don’t want that.  So make sure, no matter what your skin care routine is, washing your face every night is part of that routine.  Even if you don’t wear makeup, it’s important to clean your face to help get dirt out of your pores and keep your skin fresh.


Kukui Nut Oil

kukui nut  oilI’ve talked about Kukui Nut oil in my blog before.  I use this product to moisturize my dry skin and help prevent acne and black heads.  I use it once a day, usually a night after I shower, or twice a day when my skin is especially dry or breaking out.  I only need to use three or four drops to cover my entire face and I focus mostly on the sides of my nose and my cheeks since those areas dry out easiest on my face.  I find that this product helps keep my skin looking moisturized and soft all day, every day and I wouldn’t do without it.  You can read more about Kukui Nut Oil in the blog I posted a few weeks ago.


Sugar Scrub

Once a week, I use a deep cleaning sugar scrub on my face to exfoliate my skin, remove all the dead skin from on top, deepwpid-20141112_163509-1.jpg clean my pores, and achieve a real deep moisturizing effect.  What I like about sugar scrubs opposed to salt scrubs or other exfoliations, is that you can feel it working as the sugar dissolves.  Yes, that means it can be a little rough on your skin, but for me that means I know it’s doing something. But I promise you, despite the fact you can feel it working, it’s far from painful
and the as the sugar dissolves the oils leave your skin soft, smooth, and feeling brand new. It’s completely worth doing once a week.

I’ve been using a sugar scrub from the Hawaiian company Moku Pua, which is all natural and made in Hawaii.  My favorite thing about this product is that I know where all the oils that are used came from, plus I actually know what each and every ingredient in this product is.  If you want to learn more about the Moku Pua products, you can check out the blog I wrote reviewing some of the products I have used by them. They’re a great company and I highly suggest them.


Overall, this is basically all I do to conserve my skin.  I don’t use any acne cleansers (any time I’ve ever used them my skin has dried out and it has taken weeks reverse) and I don’t use any actual moisturizing creams on my face.  I try to use as close to natural products as I can on my face, foundation and cleanser aside and overall I am very pleased with my personal regiment.

This combination of products works really well for me, and it might work for you as well.  Just keep in mind that everyone’s skin is different and we all react differently to different products.

I’d love to know what kind of products you use on your skin and what you think of them, so make sure to leave a comment below. I look forward to reading them!

Until next time,

Kat